Three years and 5 days ago (
ok I'm a little late with this post) we took possession of our house. We have done a TONNE in those three years. I do have to admit that I hated our house for the first year and a bit because it seemed nothing was going right. Everything small task we took on turned into a huge nightmare of a project. BUT now that most of it is said and done I LOVE our house!!!! A short run down of everything we have done to date, gutted living room, spare bedroom and third bedroom down to a skeleton and rebuilt, cleaned (
ie. using TSP) and painted every inch of the house, installed new flooring in living room, spare bedroom, kitchen, hallway, bathroom...
ok basically in the entire house! Updated the upstairs bathroom, installed closets in the main bedroom, painted the basement, installed 2
nd bathroom in the basement. Oh the list could go on forever. Instead here is a brief before and after of most of the rooms in our house!
Lets start with the master bedroom!
Master Bedroom Before
This is what the room looked like when we moved into the house. The carpet was so stained and stinky, we pulled it up to find hardwood floors!!!!

Then we temporarily lived like this for a few years.
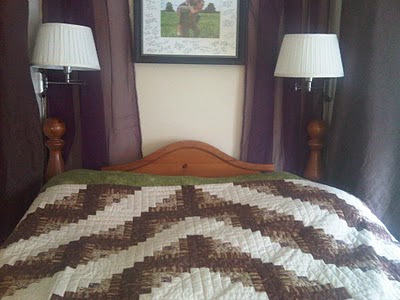
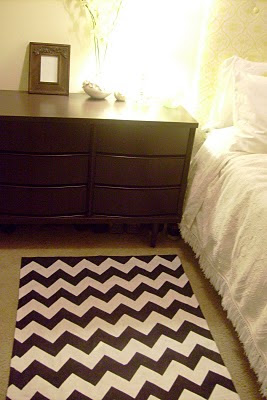
 Bedroom After
This is what it looks like now! You can see details on what we did here and here.
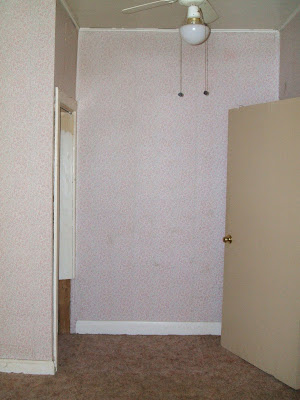
 Smallest BedroomSmallest Bedroom Before
The smallest bedroom was a real 'piece' of work. This was the view to the right when you walked into the room. They had taken out the closet and put the fridge in the place where the closet was but never covered it up with drywall... resulting in a wonderful view of the back of the fridge!!!

This was the wallpaper mess that we had to deal with. When we started to peel wallpaper it was discovered that the wallpaper had fused itself to the plaster and lathe so this room ended up being gutted as well and insulated properly!!
 Third Bedroom During
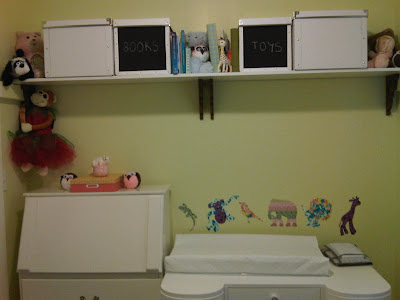
 Third Bedroom (AKA Nursery) After
To see all posts about what we did go
here.

 Kitchen
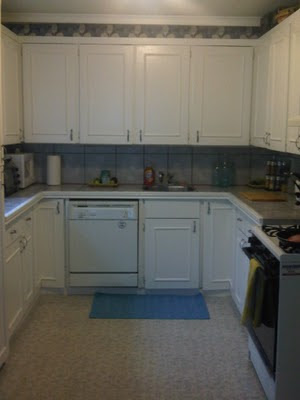
Kitchen Before: Kitchen After
 We redid the flooring, painted the cabinets, put in wallpaper. See all kitchen posts
here.
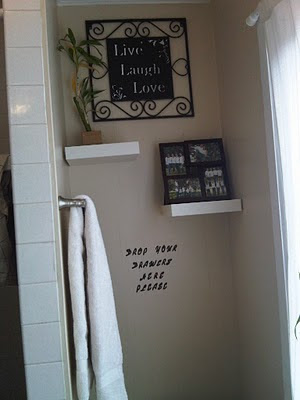
Main BathroomThe main floor bathroom was RIGHT out of the 70's with flowery wallpaper on top of wood panelling... For full details on what was done go
here and
here.
Main Bathroom Before 
Main Bathroom After

Back Stairway
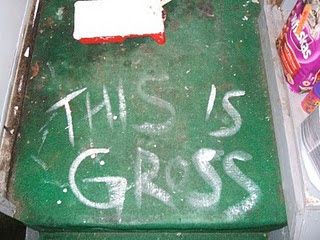
The back stairway to the basement was by far the grossest in the house! The green astro turf stunk like cigarettes and mold!!!
Back Stairway Before

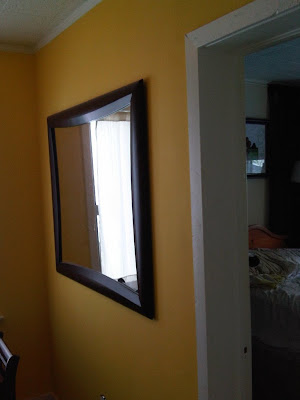
Back Hallway After (the paint colour is Behrs Mellow Yellow and it runs into our kitchen as well! We felt the need to brighten it all up!!)
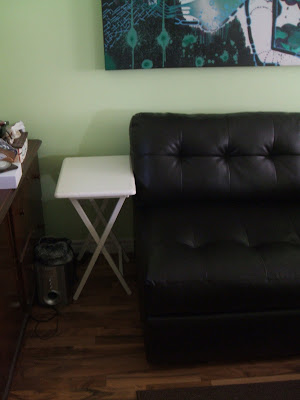
 Living Room
The living room was one of our biggest projects to date. We had to rip down everything and fix the roof that was drooping about a half a metre!!! It was FUN!!! We lived in the kitchen and bedroom for almost 4 months with the rest of the house
barriered off!
Living Room Before:
 Living Room During:
 Can you see that the room was being held up by a 2 by 4 on its face!!!!
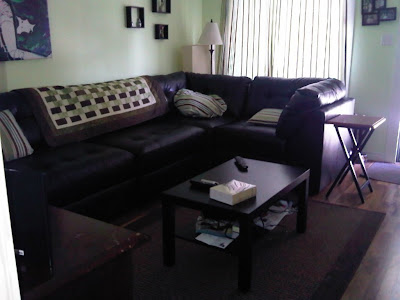
 Living Room After:
 Nothing from the original house exists now... other than the windows. Everything is new!
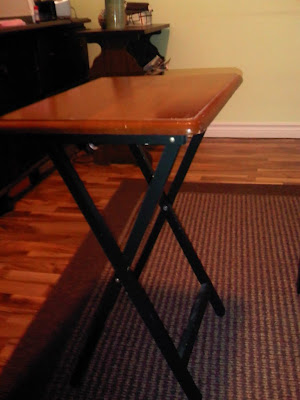
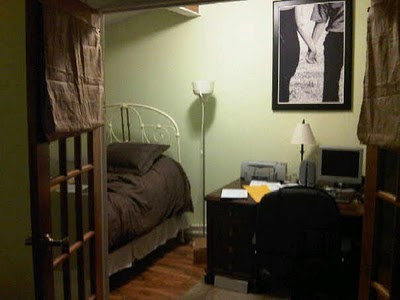
 Spare Bedroom
The spare bedroom was gutted just the same as the living room. You can tell it needed it!!! Sometimes I look at the pictures of our original house and wonder what were we thinking in buying this house?????
Spare Bedroom/Office Before

Spare Bedroom/Office During Spare Bedroom/Office After
 Notice the closet on the far right, we created a HUGE closet in this room since we don't have a front hall closet to store coats and shoes in so we used part of this room to make a LARGE closet! And we got closet doors at a Wacky Wednesday Ikea sale for $55 on sale from $450!!!!! Yes that is correct!!!

Basement
This section will have to be updated because we are in the process of fixing up the basement and putting in the basement bathroom. To see progress so far on the basement go here and for progress on the basement bathroom go here.
Basement Before
This is what it looked like when the former owners owned it... EWWWWWW

And when we first moved in.
 Basement After
Pictures to come shortly.


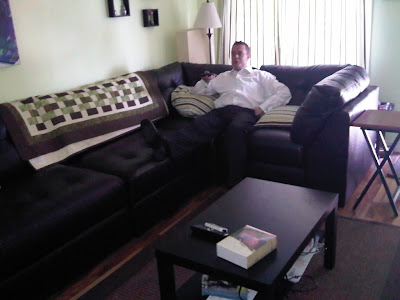
 And here is Ryan chilling out in his pj's!