This weekend I made many trips to Rona (as previously posted) and during one of my trips I found some fabulous flooring at an AMAZING price!!! Now I believe I have previously mentioned that when we bought the house we temporarily put stick down tiles throughout the hallway, bathroom, 3rd bedroom (now nursery) and kitchen. We knew this was a temporary solution until we found something better. It has held up ok for the past almost 3 years but a few of the tiles have cracked and the nails are slowly showing through others. We knew it was about time for an updated flooring. The big problem is that our floors slope (being an older house this is common) and without leveling the entire floor we can't put in ceramic tiles. To level the entire floor we would lose about 3 inches (if not more in some spots) of space and that is a HUGE deal. So we have been advised that leveling the floor does not make sense. Enough of the history of our floors... we decided laminate would work out wonderfully as long as we somewhat level the floor. Where there are dips in the floor we can use self leveling cement and the laminate will withstand the dips just fine (or so I am told).
So while at Rona we came across this lovely laminate. Now it isn't as lovely as the laminate that is in our living room which I thoroughly LOVE but its pretty nice regardless... plus what makes it even nicer is it was only 79 cents a square foot.. plus we got 10% off that!!! WOOHOOOO!!!

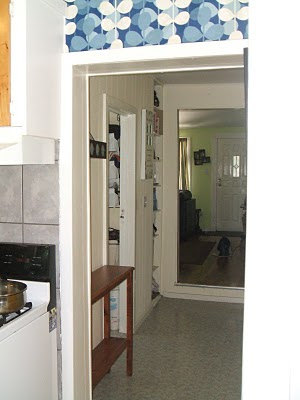
This baby set us back a measly $300 plus the cost of the under padding which was about $50 so a total of $350. The plan is for this flooring to run through the entire hallway, kitchen and nursery. Since the bathroom floor is the only level floor in the house we do eventually plan on doing ceramic tile in there. This is what our hallway looks like currently with the stick down tiles.
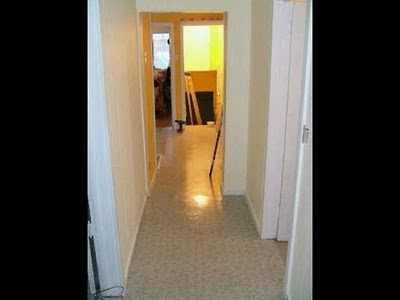
Here it is again looking from the living room to kitchen, cutting laminate should be 'fun' ... don't you love the twisted hallway... its totally not straight at all!!!
.JPG)
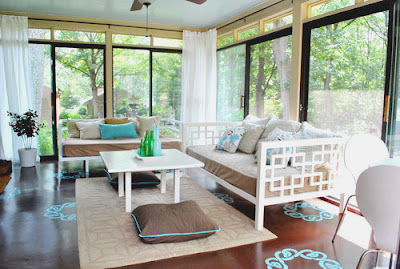
I wanted to see what it would look like next to our existing laminate floors and I'm impressed!!!


So this is yet another project that we have to undertake hopefully before the baby is born. The only problem we have now is with the baseboards... the baseboards in this part of the house are the original baseboards so taking them off and reinstalling them after the flooring is laid MAY lead to problems and more costs because we may have to get new baseboards... so we haven't decided if we should just install the flooring against the baseboard and risk the small funny looking baseboard that remains after losing about a half inch of it..... We'll see.


.JPG)


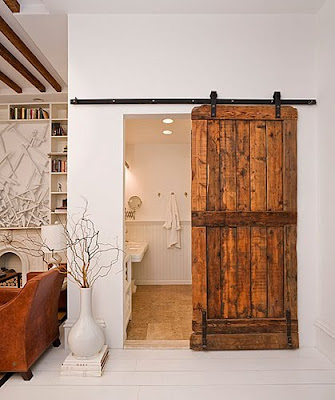 Photo Source